- ブログメニュー
- 11月の活動記録
ブログ
AfterEffectsでできるプログラミング、エクスプレッション
- 追従して回転するエクスプレッション
-
「RED」回転する/「BLUE」エクスプレッションで追従して回転するように設定する
//BLUEのエクスプレッション thisComp.layer("RED").transoform.rotation - wiggle(5,300)
- 1秒に「5回」「300」の振れ幅で 揺らす
Webデザインをしているとテーブルが文字が飛び出てしまったり、改行で読みにくくなったりするので、解決策を考える。
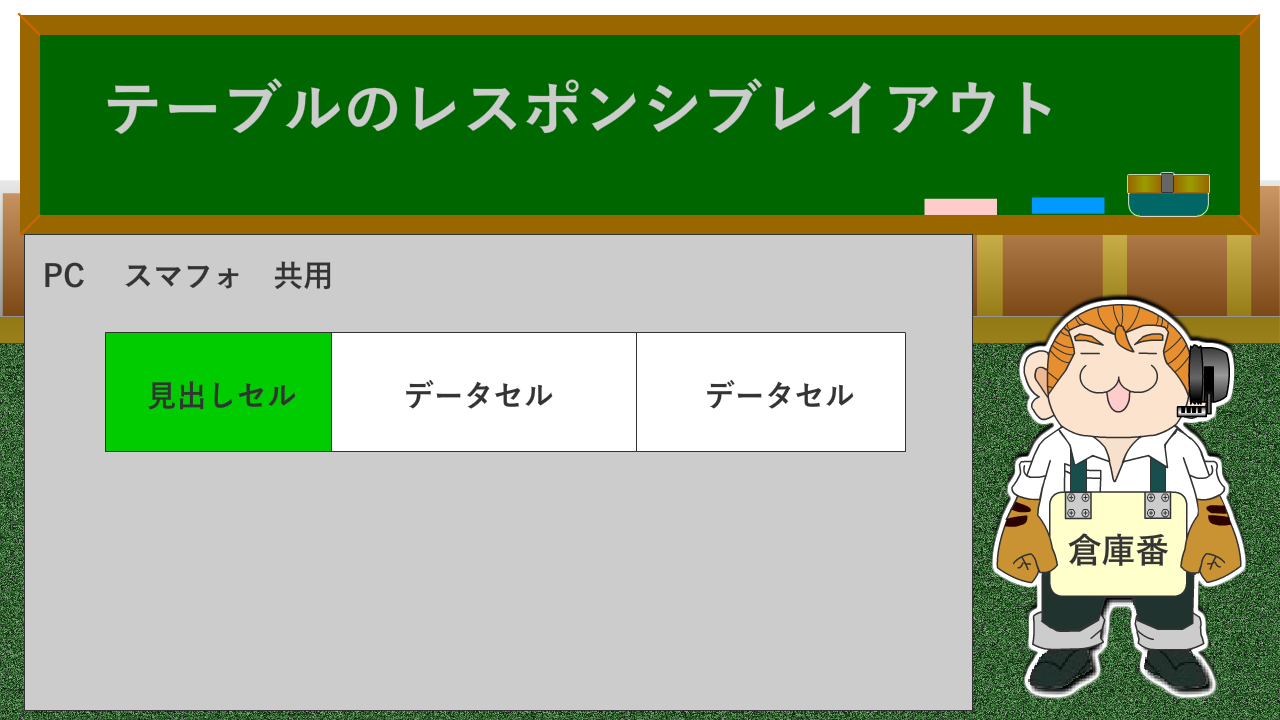
- テーブルレイアウト01
- 伸縮のみ
/*HTML*/
<table class="table01">
<tr>
    <th>見出しセル</th>
    <td>データセル</td>
    <td>データセル</td>
</tr>
</table>
/*CSS*/
.table01{
 width:100%;
   table-layout:fixed;
   border-collapse:collapse;
}
.table01 th,
.table01 td{
    padding:15px;
    border:1px solid #ccc;
    text-align:center;
}
.table01 th{
  background:#f7f7f7;
}
単純に幅可変で伸縮するだけ、列幅が3列以下でセル内のテキストの文字数も少ない場合は有効。ただし、モバイル環境ではレイアウト崩れやテキストの可読性が落ちる可能性があるので要注意
- テーブルレイアウト02
- PC表示で左端列が見出しとなる表組みの場合
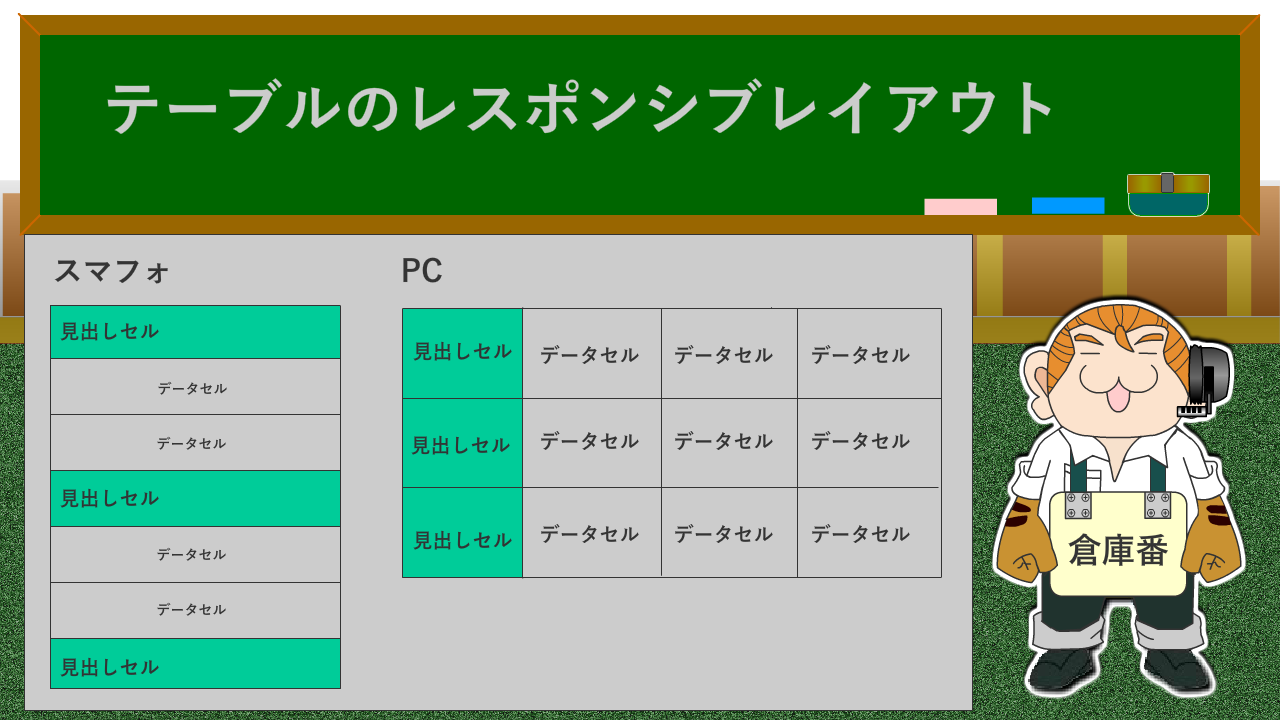
スマフォ画面では縦並び、タブレット・PCサイトでは横並びになるテーブルレイアウト
/*HTML*/
<table class="table02">
<tr>
    <th>見出しセル</th>
    <td>データセル</td>
    <td>データセル</td>
    <td>データセル</td>
</tr>
</table>
/*CSS
スマフォ画面 320px以下に適用し、テーブルを縦に並べ替える*/

.table02,
.table02 tr,
.table02 th,
.table02 td{
   display:block;
}

/*CSS
タブレット画面 768px以上の画面に適用し、テーブルを横に並べ替える*/
@media only screen and (min-width:767px){
    .table02{
       display:table;
    }
    .table02 tr{
       display:table-row;
    }
    .table02 th,
    .table02 td
    {
       display:table-cell;
    }
}
| display:table; | display:tableを親要素に設定し、横に並べたい要素にdisplay:table-cell; を指定する。 |
|---|---|
| display:table-cell; |
実践編
| 日付 | ジャンル | 内容 | MORE |
|---|---|---|---|
| 1/27 | CSS | レスポンシブテーブル | |
| 1/26 | Animate | パーティクル | |
| 1/25 | Animate | 音声データの取扱 |
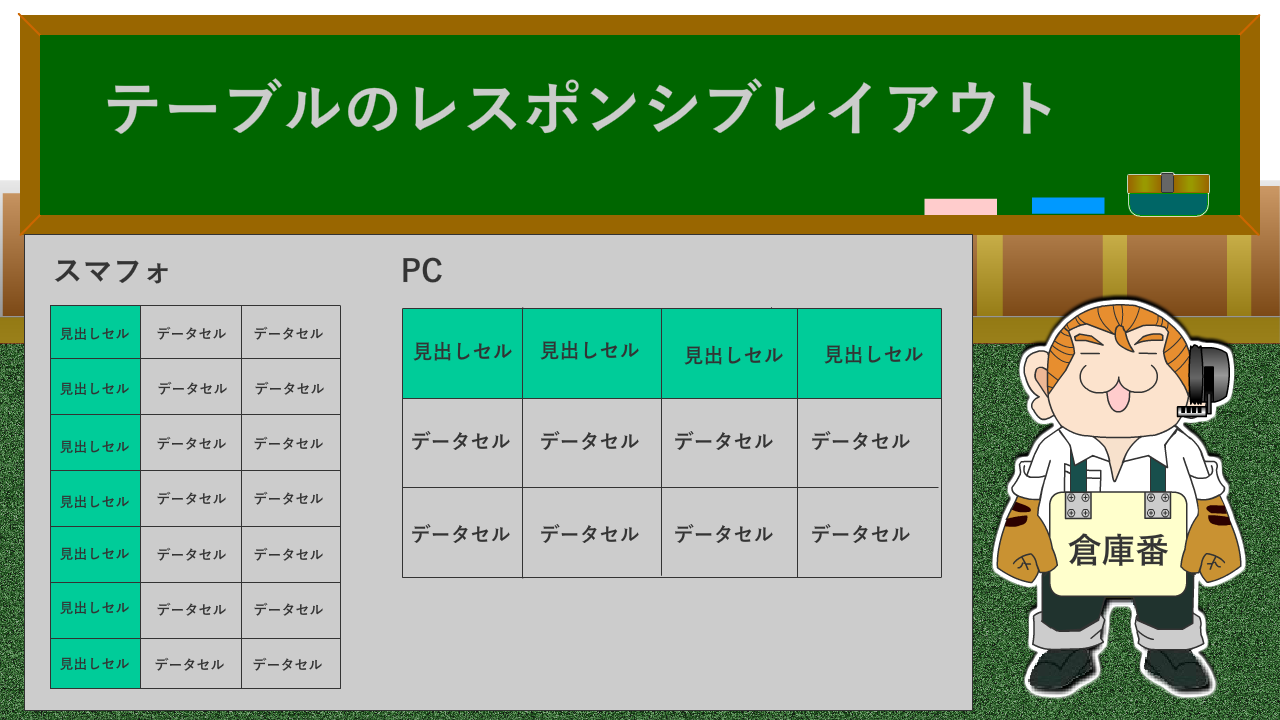
- テーブルレイアウト03
- PC表示で1行目が見出しとなる表組みの場合
/*HTML*/
<table class="table03">
<tr>
    <th>見出しセル</th>
    <td>データセル</td>
    <td>データセル</td>
    <td>データセル</td>
</tr>
<tr>
    <th>見出しセル</th>
    <td>データセル</td>
    <td>データセル</td>
    <td>データセル</td>
</tr>
</table>
/*CSS*/
.table03{
   width:100%;
   table-layout:fixed;
   border-collapse:collapse;
}
.table03 th,
.table03 td{
    padding:15px;
    border:1px solid #ccc;
}
.table03 th{
  background:#f7f7f7;
}
/*PCレイアウト
trで横並び*/
@media screen and (min-width:768px){
   .table03 tbody{
      width:100%;
    display:flex;
    }
    .table03 tr{
      display:block;
        width:20%;
        margin-left:-1px;
    }
    .table03 th,
    .table03 td{
      display:block;
        width:100%;
        margin-top:-1px;
        margin-left:-1px;
    }
}
| 日付 | ジャンル | 記事本文 |
|---|---|---|
| 1/27 | CSS | レスポンシブテーブル |
| 1/26 | Animate | パーティクル |
| 1/25 | Animate | 音声データの取扱 |
テーブルレイアウトについては、今後もバリエイションを増やす必要があると思う。
アニメーションイージングを比較してみる。

ブログ記事にCSSだけで作るアニメーションを設置。アニメーションは、左右の移動や拡大・縮小、回転。スケスケにするなど、使い方によっては効果的な利用方法がまだまだあるだろう。 今後の課題は、 CSSだけでつくるアニメーションをちりばめたWebサイトに育てていきたい。
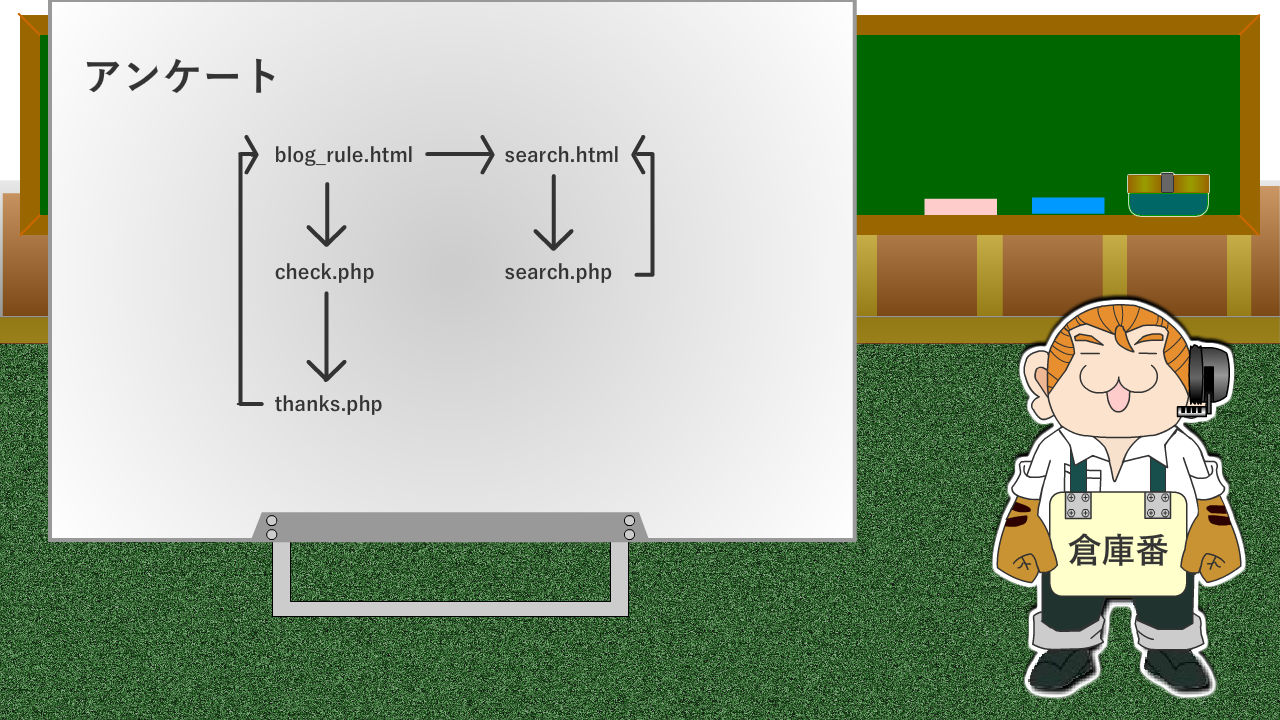
アンケート機能を追加
-
- blog_rule.html
- アンケート入力画面
- check.php
- 記入・未記入の入力内容をチェック
- thanks.php
- データベースに登録
-
- ichiran.php
- データベースに登録されたアンケート内容を一覧表示する
-
- search.html
- データベースの内容をコード(投稿された順番)から検索する
- search.php
- 検索した内容を表示する
アンケートを実装する際の注意点
- テキスト入力の時は、HTMLを効かなくするため、必ず無毒化する必要がある
$nickname = htmlspecialchars($nickname); - 検索の入力をする時に、勝手に一覧表示されるSQLインジェクションを防ぐために、以下のコードを書く
//変数の連結をやめて、データを入れたい部分を「?」で表現します。
$sql = 'SELECT * FROM テーブル WHERE code=?';

//データを別の変数に格納します。
$data[] = $code;

//SQL文で命令を出すときに、データを格納した変数を指定します。
$stmt->execute($data);
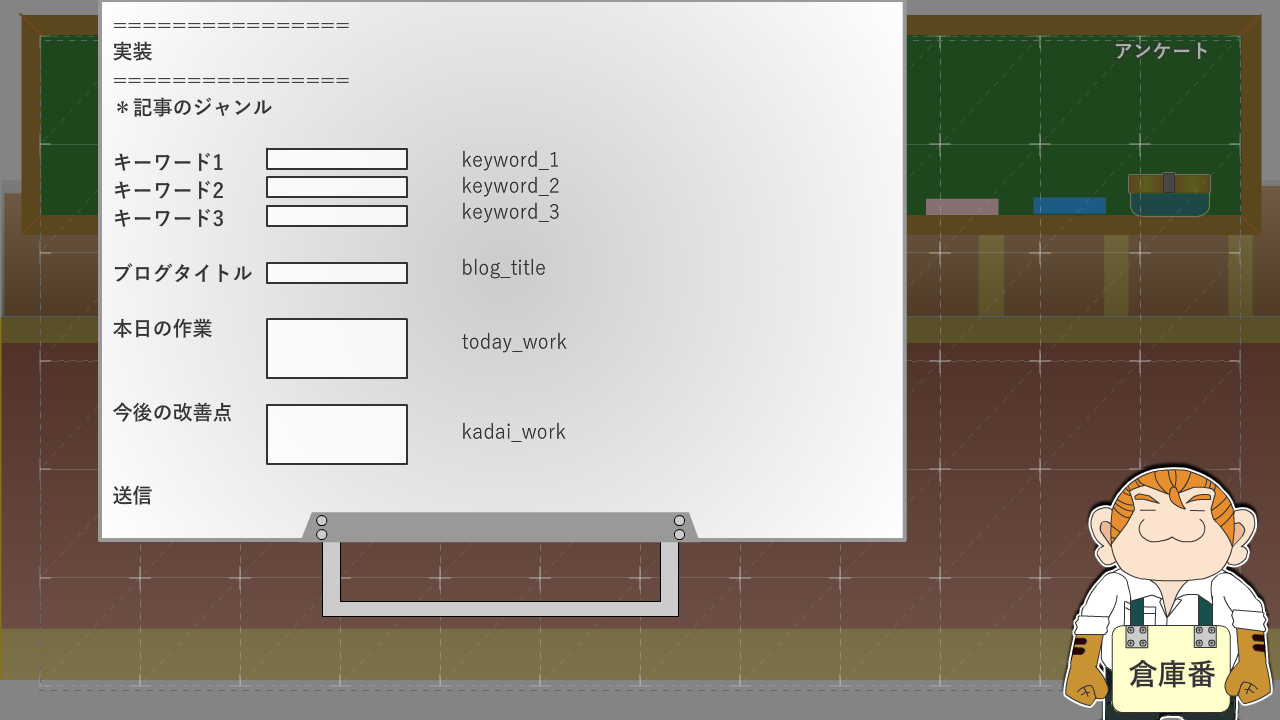
アンケート機能を追加したい
blog_rule.html
アンケートを入力してもらうページ
<?php
        $keyword_1 = $_POST[ 'keyword_1' ];
        $keyword_2 = $_POST[ 'keyword_2' ];
        $keyword_3 = $_POST[ 'keyword_3' ];
        $blog_title = $_POST[ 'blog_title' ];
        $today_work = $_POST[ 'today_work' ];
        $after_work = $_POST[ 'after_work' ];

        $keyword_1 = htmlspecialchars( $keyword_1 );
        $keyword_2 = htmlspecialchars( $keyword_2 );
        $keyword_3 = htmlspecialchars( $keyword_3 );
        $blog_title = htmlspecialchars( $blog_title );
        $today_work = htmlspecialchars( $today_work );
        $after_work = htmlspecialchars( $after_work );
        print $keyword_1;
        print '<br>';
        print $keyword_2;
        print '<br>';
        print $keyword_3;
        print '<br>';
        print $blog_title;
        print '<br>';
        print $today_work;
        print '<br>';
        print $after_work;
        print '<br>';
?>
check.php
入力内容をチェックするページ パーミッション設定:604
<?php
  $keyword_1 = $_POST[ 'keyword_1' ];
  $keyword_2 = $_POST[ 'keyword_2' ];
  $keyword_3 = $_POST[ 'keyword_3' ];
  $blog_title = $_POST[ 'blog_title' ];
  $today_work = $_POST[ 'today_work' ];
  $after_work = $_POST[ 'after_work' ];

  $keyword_1 = htmlspecialchars( $keyword_1 );
  $keyword_2 = htmlspecialchars( $keyword_2 );
  $keyword_3 = htmlspecialchars( $keyword_3 );
  $blog_title = htmlspecialchars( $blog_title );
  $today_work = htmlspecialchars( $today_work );
  $after_work = htmlspecialchars( $after_work );

  /*無記入だったら*/
  if ( $keyword_1 == '' ) {
    print 'キーワードが入力されておりません。<br>';
  } else {
    print $keyword_1;
    print '<br>';
  }
  /*無記入だったら*/
  if ( $keyword_2 == '' ) {
    print 'キーワードが入力されておりません。<br>';
  } else {
    print $keyword_2;
    print '<br>';
  }
  /*無記入だったら*/
  if ( $keyword_3 == '' ) {
    print 'キーワードが入力されておりません。<br>';
  } else {
    print $keyword_3;
    print '<br>';
  }
  /*無記入だったら*/
  if ( $blog_title == '' ) {
    print 'タイトルが入力されておりません。<br>';
  } else {
    print $blog_title;
    print '<br>';
  }
  /*もしも、無記入だったら*/
  if ( $today_work == '' ) {
    print 'ご意見が入力されていません。<br>';
  } else {
    print $today_work;
    print '<br>';
  }
if ( $after_work == '' ) {
    print 'ご意見が入力されていません。<br>';
  } else {
    print $after_work;
    print '<br>';
  }
  if ( $keyword_1 == '' || $keyword_2 == ''
  || $keyword_3 == '' || $blog_title == ''
  || $today_work == '' || $after_work == '') {
    print '<form>';
    print '<input type="button" onclick="history.back()" value="戻る">';
    print '</form>';
  } else {
    print '<form method="post" action="thanks.php">';
    print '<input name="keyword_1" type="hidden" value="' . $keyword_1 . '">';
    print '<input name="keyword_2" type="hidden" value="' . $keyword_2 . '">';
    print '<input name="keyword_3" type="hidden" value="' . $keyword_3 . '">';
    print '<input name="blog_title" type="hidden" value="' . $blog_title . '">';
    print '<input name="today_work" type="hidden" value="' . $today_work . '">';
    print '<input name="after_work" type="hidden" value="' . $after_work . '">';
    print '<input type="button" onclick="history.back()" value="戻る">';
    print '<input type="submit" value="OK">';
    print '</form>';
  }
?>
thanks.php
チェック完了した記事を出力するページ パーミッション設定:604
<?php
        $keyword_1 = $_POST[ 'keyword_1' ];
        $keyword_2 = $_POST[ 'keyword_2' ];
        $keyword_3 = $_POST[ 'keyword_3' ];
        $blog_title = $_POST[ 'blog_title' ];
        $today_work = $_POST[ 'today_work' ];
        $after_work = $_POST[ 'after_work' ];

        $keyword_1 = htmlspecialchars( $keyword_1 );
        $keyword_2 = htmlspecialchars( $keyword_2 );
        $keyword_3 = htmlspecialchars( $keyword_3 );
        $blog_title = htmlspecialchars( $blog_title );
        $today_work = htmlspecialchars( $today_work );
        $after_work = htmlspecialchars( $after_work );
        print $keyword_1;
        print '<br>';
        print $keyword_2;
        print '<br>';
        print $keyword_3;
        print '<br>';
        print $blog_title;
        print '<br>';
        print $today_work;
        print '<br>';
        print $after_work;
        print '<br>';
?>
-
- blog_rule.html
- アンケート入力ページ
-
- check.php
- 入力されたアンケートに入力漏れがないかチェックする。
-
- thanks.php
- チェック完了した内容を出力する。
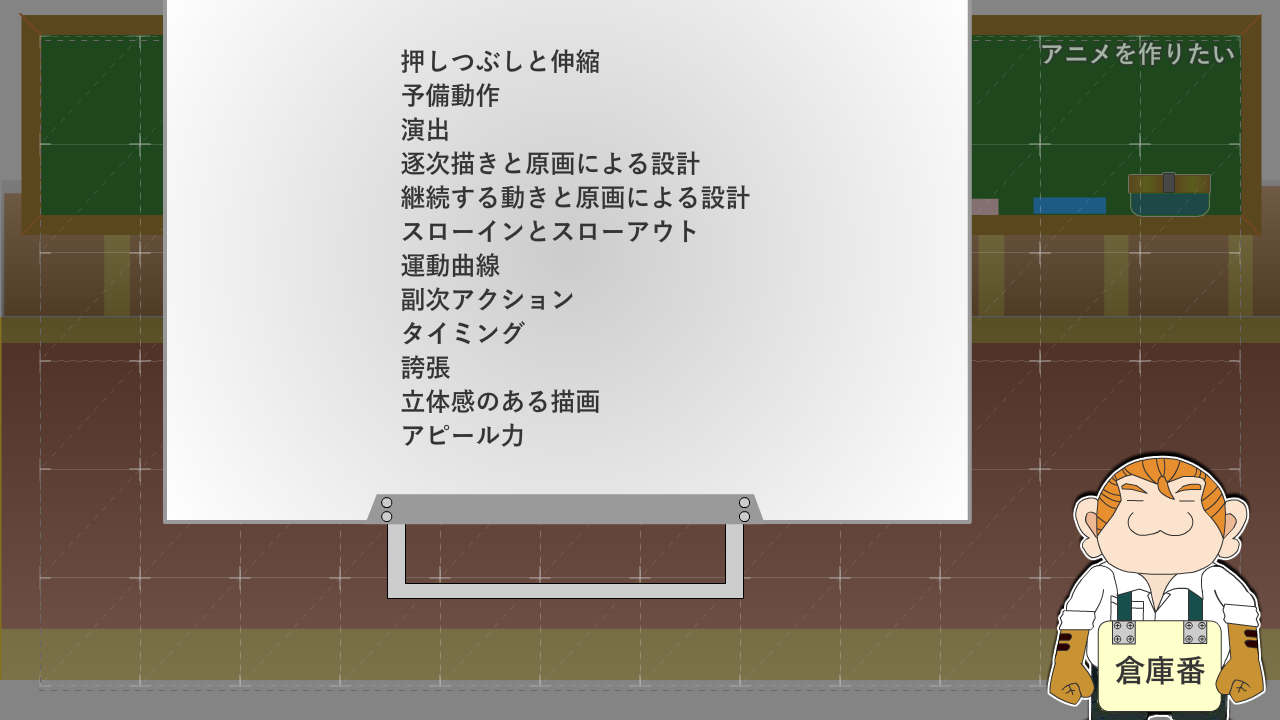
Animateでアニメを作る方法
基本原則
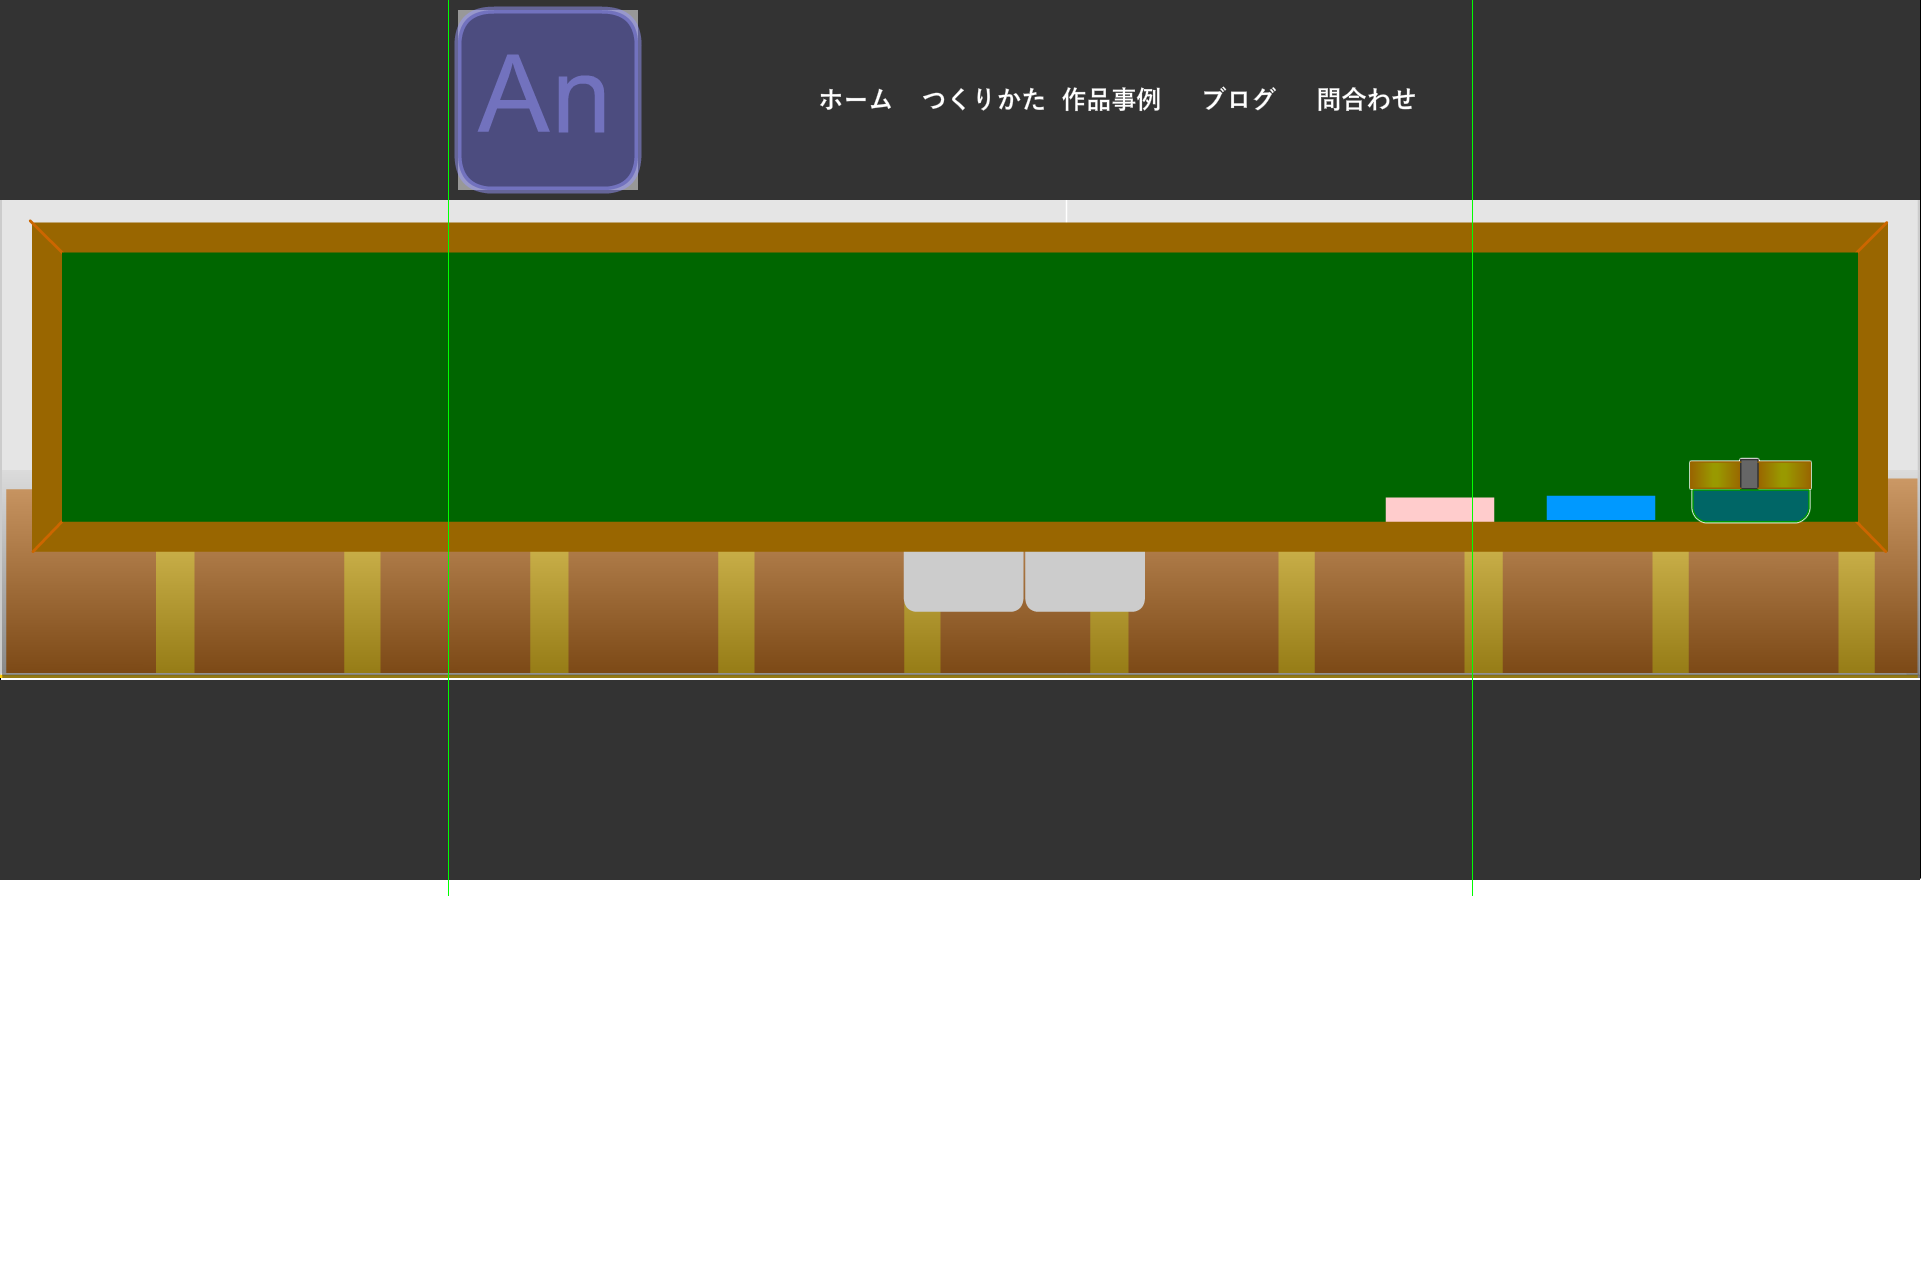
Webサイトの記事の方向性がぶれてきてしまったので、改めてAnimateのつかいかたをまとめるペラサイトに改修いたします。
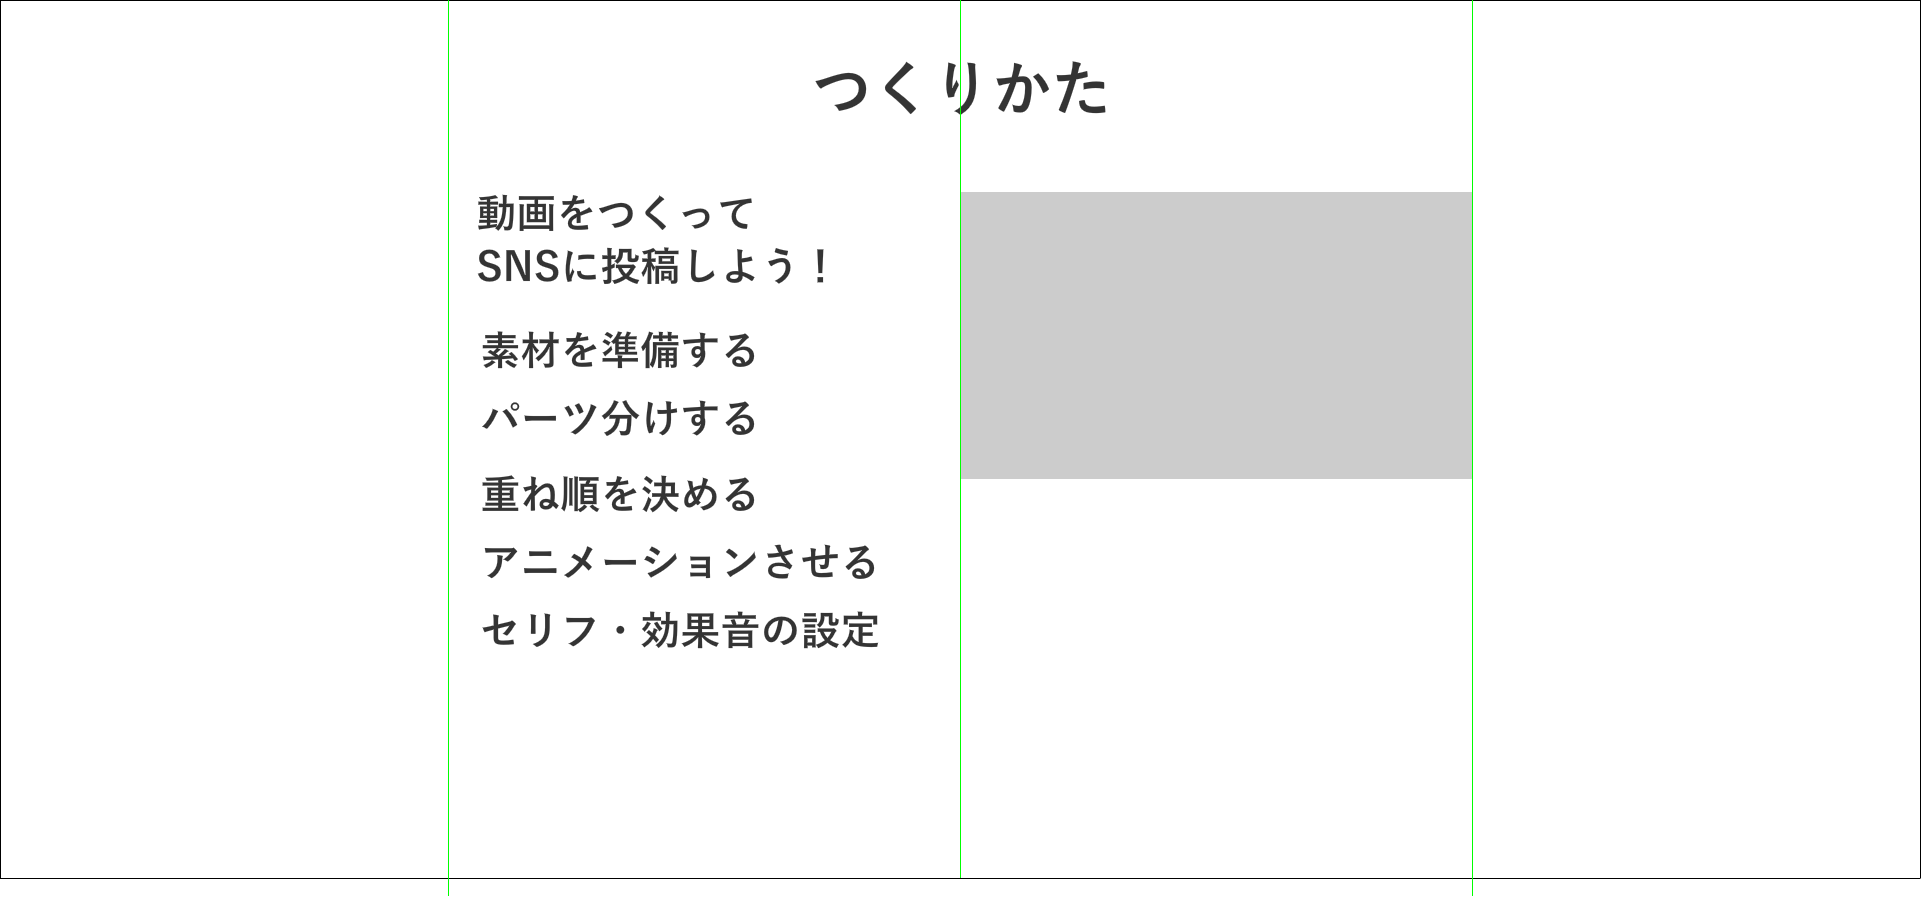
- つくりかた
- 作品事例
11月中の目標は、アニメを作ってSNSに投稿すること。ペラサイトを作って動画の作り方、SNSに動画を上げるノウハウをまとめる
Webデザインの基本
-
- メタデータ
-
- author: ページの著者
- description: ページの概要
- keywords: キーワード
- generator: ページを生成したソフトウェア
- page-color: ページのテーマカラー
- viewport: ビューポートの設定
- referrer: リファラの送信
- robots: 検索エンジンへの指示
- googlebot:Google検索エンジンへの指示
-
- コンテンツのマークアップ
-
- セクション
- エンベディッド・コンテンツ:画像やビデオなどの外部コンテンツを表示するタグ
- テーブルデータ
- インタラクティブ
- メディアクエリ
- ボックスのレイアウト
- フレキシブルボックスレイアウト
- グリッドレイアウト
- テーブル
- テキスト
- エンベディッド・コンテンツ
- フォーム
-
- 特殊効果
-
-
- 原点の位置
- transform-origin
- トランスフォーム
-
- 移動: translate(x,y)
- 拡大縮小: scale(x,y)
- 回転: rotate(x,y)
- スキュー: skew
-
- トランジション
-
- 始点と終点の2点間のアニメーションを作成できる
- :hover セレクタ や @mediaなどでプロパティの値が変わるのをきっかけに実行される
プロパティ 機能 transition-duration 再生時間 transition-property プロパティ名 transition-timing-function 補完方法 tramsotopm-delay ディレイ - アニメーション
-
プロパティ 作成できるアニメーション transition 始点と終点の2点間のアニメーション animation キーフレームを利用したアニメーション - 補完方法
-
キーワード 補完方法 ease 最初と最後をなめらかに変化 linear 一定の速度で変化 ease-in 最初はゆっくり変化 ease-out 最後をゆっくり変化 ease-in-out 最初と最後をゆっくり変化 - ディレイ
- 指定した時間の分だけアニメーションの再生開始を遅らせることができます。
-
- キーフレームによるアニメーション
-
- @keyframes キーフレーム名{~}
-
- ディレイ
-
- none: なし
- backwards : 開始時の状態に戻る
- forwards : 終了時の状態を維持する
- both:開始時に"forwards"、終了時に"backwards"を適用する
-
- 再生回数と再生方向
-
- infinite:無限に繰り返すループ再生
- alternate:0%→100%、100%→0%を交互に再生を繰り返す
- 再生状態
-
- running : 再生
- paused : 一時停止
-
//ベース 3秒間で実行するアニメーション
.test_image_anime a {
  background: #abcf3e;
  border-radius: 50%;
  transform-origin: 50% 50% 0;
  animation: myanim 3s infinite;
}
//回転と拡大,色を変える
@keyframes myanim {
  0% {
    border-radius: 50%;
    transform: scale(1) rotate(0deg);
    background: #abcf3e;
  }
  50% {
    transform: scale(1.2) rotate(180deg);
    background: #f3c90b;
  }
  100% {
    transform: scale(1) rotate(360deg);
    background: #abcf3e;
  }
} /*myanim*/
animateでアニメーションの作り方は大体わかった。後はバリエイションを増やして効率的に動画投稿できる下地を作ろう。
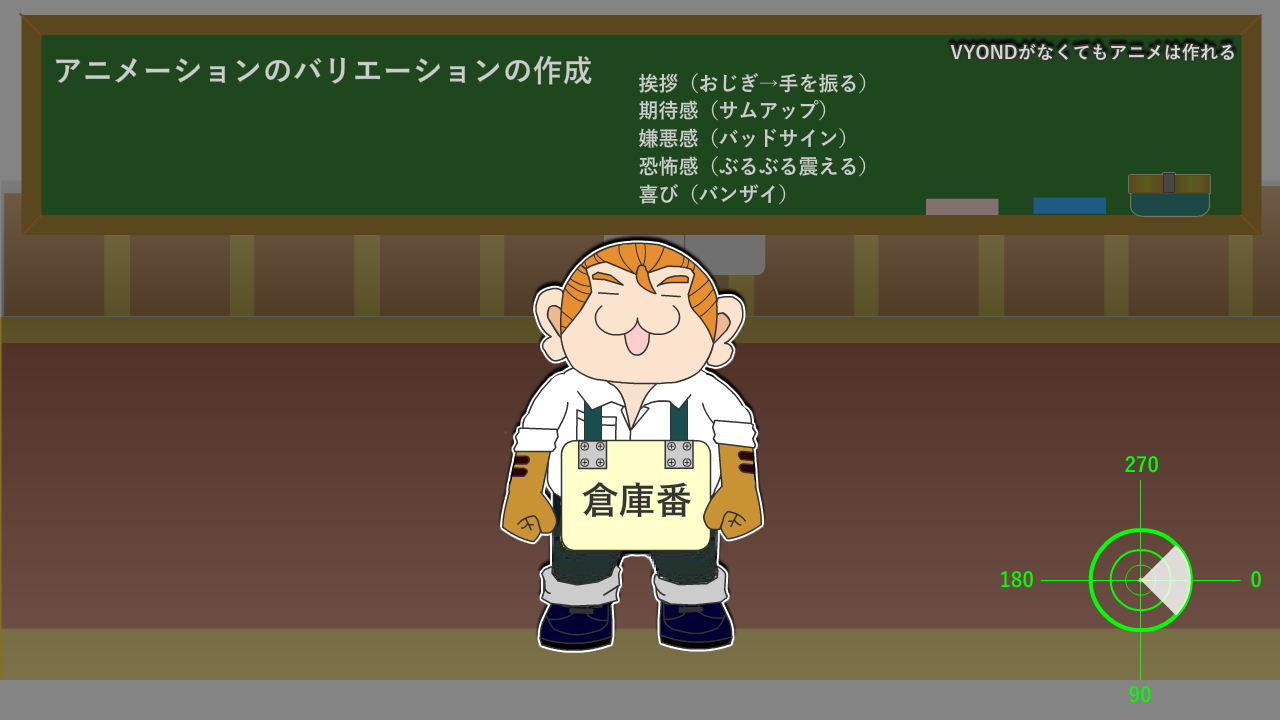
アニメーションのバリエイションをつくろう!
- 挨拶(おじぎをしてから手を振る)
- 期待感(サムアップ)
- 嫌悪感(バッドサイン)
- 恐怖感(ぶるぶる震える)
- 喜び(バンザイ)
参考サイト
Animateを使ってアニメを作る方法を説明します。
- 動かしたいパーツごとにレイヤー分けする
- 胴体を中心にレイヤー名を付ける:親子関係_用途_gp
- 関節_十字_gp をつくる
- _gp/_mcの大きさを調整しつつ配置する
- 重ね順が下になる方の関節の円の外周に線を書く
- 重ね順が上になる方の関節の円には線を書かない
- ライブラリに登録した 関節_十字_gpのアルファ値を0にして透明化させる
- 動作確認して、問題がなければ完成
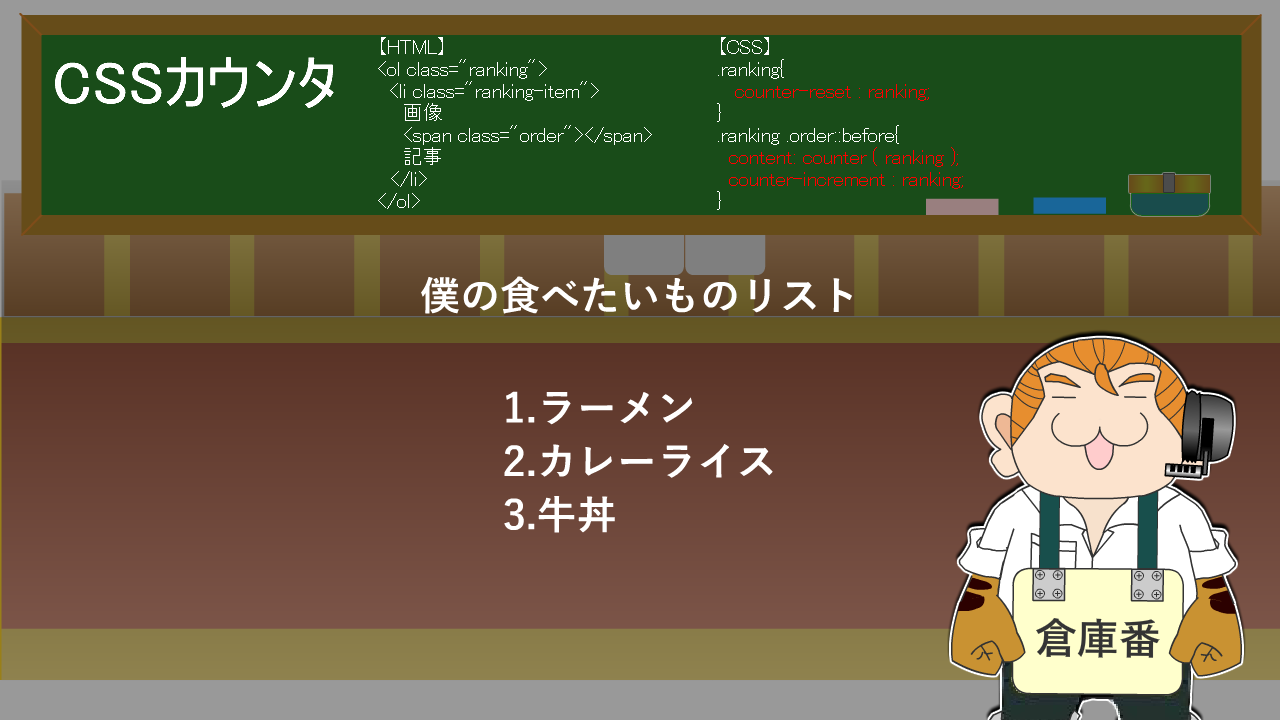
リストのランキングを作る仕組み
- CSSカウンタ
-
- 【親】rankingクラス
【CSS】
counter-reset:ranking; - 【子】orderクラス
【CSS】
content:counter(ranking);
counter-increment:ranking
- 【親】rankingクラス